Linocut is a gem of printmaking that blends simplicity with boundless creative potential. If you’ve ever admired bold, graphic art prints, there’s a good chance they were linocuts. Whether you’re a seasoned artist or just dabbling, this technique invites anyone with a steady hand and a vision to carve their mark. Let’s dive into its history, techniques, and how you can get started.
Introduction to Linocut
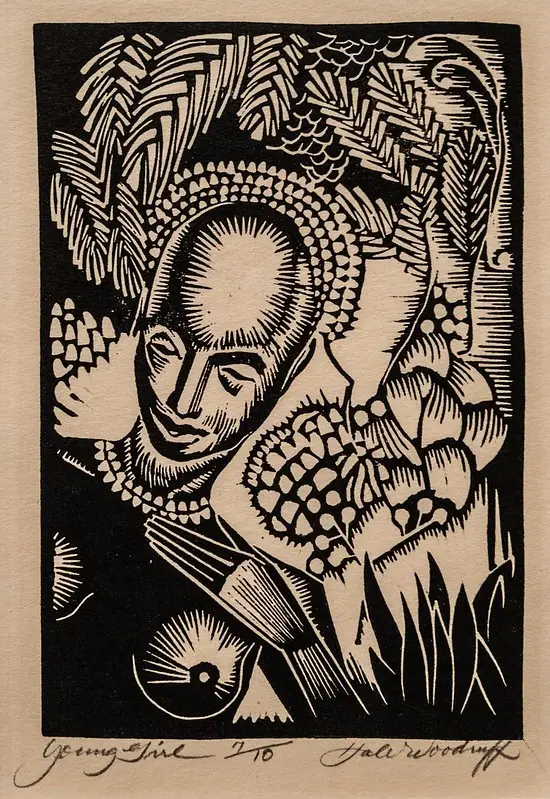
Linocut is a relief printmaking technique where a design is carved into a linoleum block, inked, and then pressed onto paper. Think of it as a cousin to woodcut—only with softer, more forgiving material that’s easier to carve. This makes it a favorite among beginners and experts alike.
What makes linocut special is its accessibility. You don’t need a fancy studio or expensive tools to get started, and the results can be stunningly professional. Artists worldwide love linocut for its bold lines, textural richness, and adaptability to various styles.
Source: https://flic.kr/p/Fgiqqd
Pro Tip: If you’re new to printmaking, linocut is an excellent gateway technique. It’s forgiving, affordable, and a lot less intimidating than some other methods.
The History of Linocut
Linocut may seem modern, but its roots stretch back to the early 20th century. Originally, linoleum was used for flooring, not art. But when artists discovered how smoothly it carved compared to wood, a new era of printmaking began.
Pablo Picasso and Henri Matisse were among the pioneers who elevated linocut to fine art. During the modern art movement, its bold, expressive style became synonymous with innovation and rebellion. Beyond the art world, linocut became a democratic medium for political and social messaging due to its affordability and reproducibility.
Pro Tip: Check out Picasso’s linocut series to see how a master turned this simple medium into gallery-worthy masterpieces.
The Process of Creating a Linocut
Creating a linocut print involves a handful of straightforward steps:
- Sketch the Design: Start by drawing your image directly onto the linoleum block. Remember, the final print will be a mirror image of your sketch.
- Carve the Block: Use gouges (sharp carving tools) to remove the areas you want to stay uninked. The untouched parts will hold the ink.
- Ink the Block: Roll ink evenly onto the carved block with a brayer.
- Print: Press paper onto the block, either by hand or with a printing press, and lift to reveal your design.
The best part? You can reuse the block to create multiple identical prints.
Pro Tip: Always carve away from your hands to avoid accidents. Trust me—linoleum gouges are sharp!
Techniques and Styles
Linocut offers a playground of techniques to explore.
- Basic Cutting: Focus on clean, bold shapes by cutting away the negative space.
- Reduction Printing: Create multi-colored prints by carving and printing the block in stages, layering colors as you go.
- Textures and Details: Experiment with line thickness, cross-hatching, and dot patterns for added depth.
- Abstract vs. Realism: Linocut is flexible enough for both minimalist abstracts and intricate realistic designs.
The beauty of linocut lies in its imperfections—each cut adds personality to the final print.
Pro Tip: Try different types of linoleum. Softer blocks are great for beginners, while harder ones offer better detail retention.

Source: Inga Seliverstova from Pexels: https://www.pexels.com/photo/creative-workplace-with-drawing-supplies-and-sketches-6735362/
The Artistic and Cultural Impact of Linocut
It isn’t just a medium—it’s a movement. Its affordability makes it an accessible art form for everyone, from grassroots activists to high-profile artists. Throughout history, it has been used for posters, protest art, and even propaganda.
Today, linocut thrives in galleries and studios alike. Contemporary artists use it to explore themes ranging from environmentalism to cultural identity. Its bold, graphic quality also finds a home in modern design and illustration.
Pro Tip: Join a local printmaking group or attend a workshop. Linocut is even more enjoyable when shared with a community of creatives.
Getting Started with Linocut
Ready to try linocut yourself? Here’s what you’ll need:
- Linoleum block
- Gouges (start with a small set of V and U-shaped tools)
- Water-based ink
- Brayer (ink roller)
- Paper
Start with simple designs to get a feel for the tools. Don’t worry about perfection—part of linocut’s charm is its handmade look.
Pro Tip: Watch online tutorials or follow step-by-step guides. Many artists share their tips and tricks on YouTube and Instagram.
Conclusion
Linocut bridges tradition and innovation, offering something for every artist. Its tactile process and bold visual results make it endlessly rewarding. Whether you’re an art lover, a hobbyist, or a seasoned pro, there’s something magical about carving your vision into linoleum and bringing it to life.
So grab a block, pick up a gouge, and unleash your creativity. Who knows? Your next masterpiece might be just a carve away.
Featured image: https://unsplash.com/photos/a-person-is-working-on-a-piece-of-wood-aeOvJ24HnFE