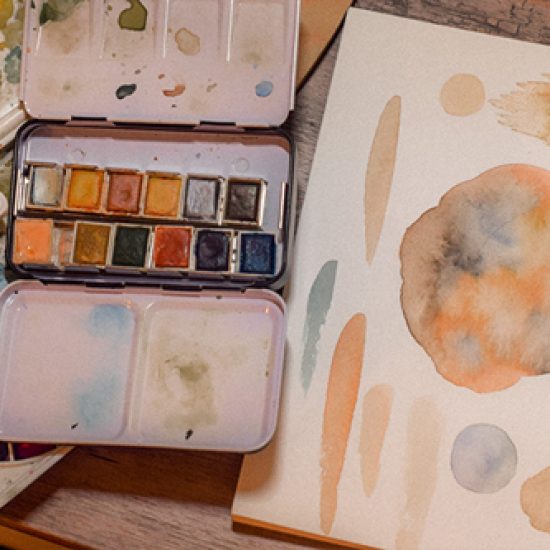
WATERCOLOR TIPS FOR BEGINNERS
Watercolor may be a challenging technique also for experienced painters. Here we will guide you through the 4 main watercolor tips and techniques to practice and get started with!
SUPPLIES NEEDED:
- Watercolorolor paint set
- Brush set
- Watercolor paper
- Palette
- Container of water
- Soap
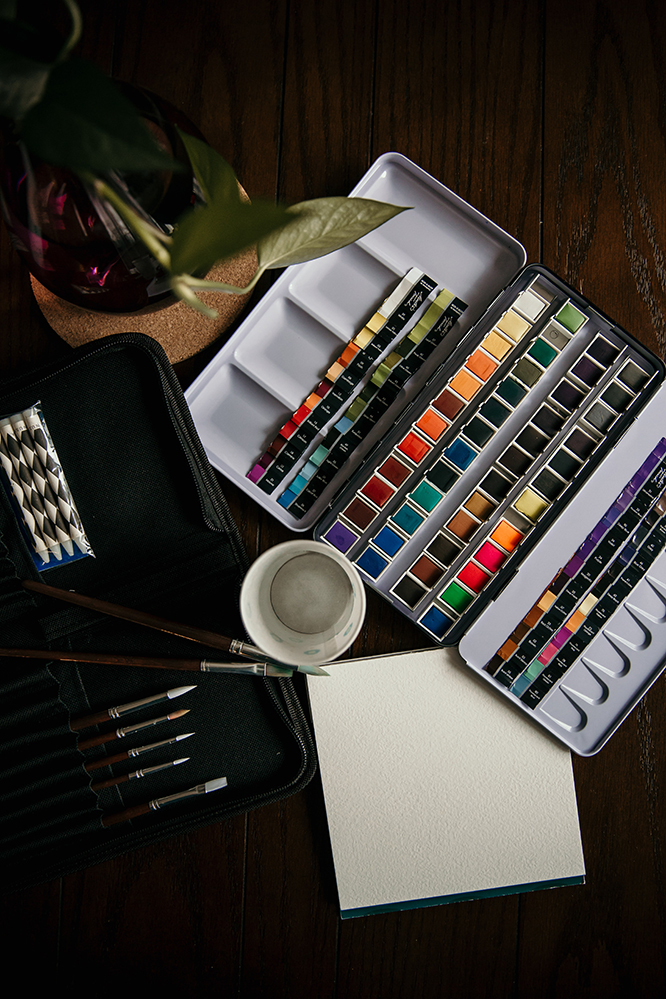
WET ON WET
Typically used for painting landscapes or backgrounds, it gives a smooth result. It basically consists of adding wet paint onto a wet surface. Here are some simple steps to guide you and get familiar with the technique:
- Wet your brush with plain water and sketch two rectangles on the chosen surface. They will be transparent as to the absence of color. If you bend your head, you will still see the shiny wet parts.
- On your palette, moist the pigments and pick some up with your brush. Simply start painting from side to side of the first triangle.
- Add dabs of paint in your second triangle. This step will show you how the different amounts of water and colors will affect the final result. Watercolor, indeed, dries in unusual and unexpected ways.
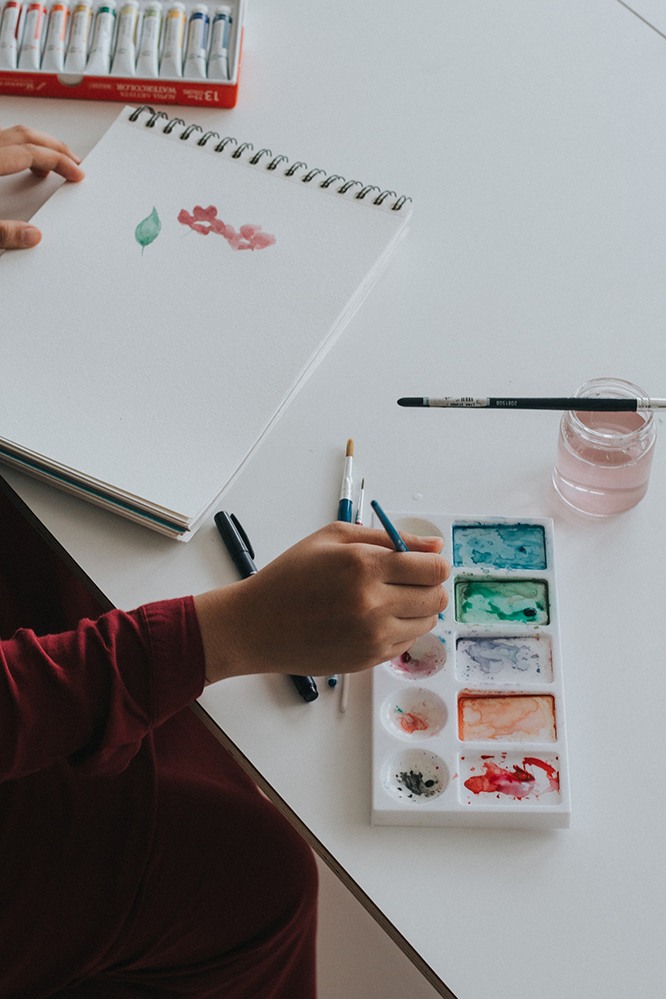

WET ON DRY
The wet on dry technique is generally used for precise shapes, and it’s probably the most used. Here are a few steps to ease the process:
- Apply some moistened paint with a big brush onto a dry surface (preferably a sheet of porous paper) and start painting as desired. The tone of your painting will depend on how much water you previously moistened the paint with. To get a more definite shape, try using a virtually dried small brush to define the edges.
- As the paint dries, you may notice how the pigment fades and turns into a different shade as prior.
BUILDING UP COLOR AND CREATING GRADIENTS
To practice how to build up color from plain water to saturate paint mix, it’s better to use one chosen tint to create what is called ombrè, a similar effect to “chiaroscuro.”
- Drop a small amount of water into one of your palette’s holes and some thick paint into the next one. It’s preferable to use a medium-thick brush.
- Pick up some water with your brush, draw a transparent strip on the paper, then in your palette, add a tiny bit of paint into the water and paint a stripe on top of the transparent one.
- Rinse and clean your brush, repeat the process by adding a bit more of paint than before. Repeat a few times to notice the diverse shades that will appear due to the different amounts of pigment.
- Repeat as many times as you like, to feel comfortable with the result.
- Now on your palette mix two colors side by side. The ratio of water and pigment should be 50/50. The chosen colors should also be close on the color wheels; otherwise, the result could turn muddy (Ex. pink and red or green and yellow).
- Starting with the lighter color and paint a short strip onto the paper.
- Clean the brush, and on the palette, add a bit of the darker shade to the lighter one. With the given mid-tone tint, paint another short strip where the previous one ended.
- Now mix the mid-tone dye with the darker color and repeat the process by adding another piece of stripe from where you left it. Repeat with the pure darker shade to finish the line.
- In this exercise, the real work happens in the palette, so try noticing the harmony between the different shades before painting, as it shouldn’t be harsh.
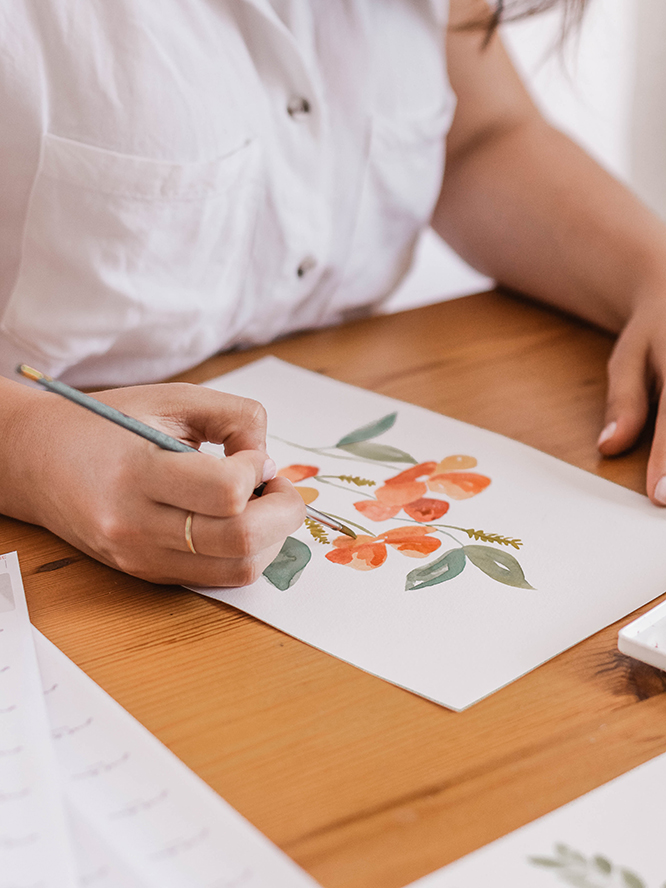

GETTING PRECISE
Learn how to control and define the edges of shapes.
- Start by painting simple shapes, like petals or leaves, onto a dry and blank piece of paper.
- With a thin brush, paint around these shapes using a different color. With a bigger brush, fill the background. Make sure to have enough of this color on your palette, following the ratio of 50/50 between water and paint.
- Try to get very close to the shape without touching it with the brush.
- Repeat the process until you reached the desired effect.
Hope you enjoyed these watercolor tips. Looking forward to seeing what you will come up with next!

